How to Take Pictures of Staircases

Staircases can be very cool features to photograph. Even a small change in angle can have a huge effect on the final picture.
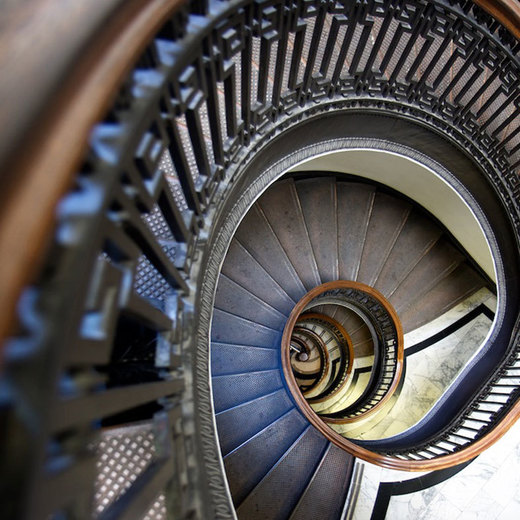
I like spiral staircases, but good examples can be a little hard to find. So when I learned about the spiral staircase at the Mechanics Institute in San Francisco, I just had to make a trip down there to take some pictures.
Photography Rules
Please note that if you get the idea that you would like to take pictures of this staircase, you need to call ahead first. I found out the hard way that they don’t simply allow visitors to come in and take pictures. You have to get special permission and sign an agreement with them. No worries though. They are very proud of their staircase and like to put pictures of it on their walls. The agreement they ask you to sign basically states that you agree to send them a copy of a picture you take (for their use) and that you mention the Mechanics Institute in your picture credits when posting the pictures.
Back to Picture Angles
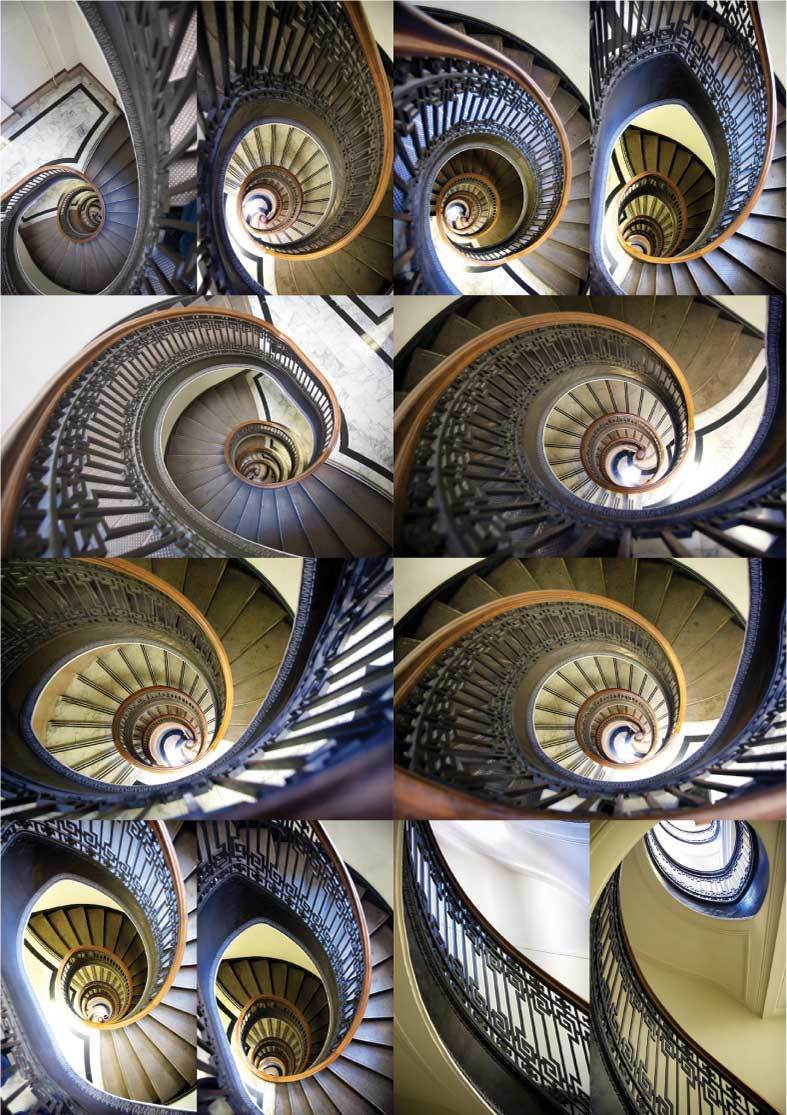
One of the ways that I use to inspire me to explore angles is that I think of the subject as a different object. For example, I decided to look at the staircase as a sea shell. Sea shells come in all shapes and sizes, but this staircase reminded me of a conch shell or a hermit crab shell. By doing this, I think about it mostly as a set of shapes; not as a set of stairs.
It may be hard to tell at first, but rails (and the floor) of the stairs are not all rounded. There are some straight sections. It is these straight sections that gave me an opportunity to create a bunch of shapes based on angle. Below are a few of the pictures that I took that day.
I started from the top of the stairs and took pictures as I walked down. If I found an angle I liked, I lingered for a while and took a few extra pictures for insurance.
As you can see from the pictures, there are a lot of interesting shapes hidden in this seemingly simple staircase. I still have a tough time deciding which angle I like the most. Regardless, after exploring a bunch of angles (and reviewing them in my camera), I had to make a choice. I wen’t back to my chosen angle, tweaked the exposure, took some insurance shots and came home to edit them.
In the end, I was very satisfied with the result, but after writing this post, I might want to take another trip to the Mechanics Institute in San Francisco to get some extra shots of a few of the other angles.
Photography Homework
Find something that has a good geometric pattern to it and explore the angles. Don’t be afraid to get a little dirty (I laid on my back for a few of these shots). People may look at you weirdly, but when they see the resulting pictures, they will wish they were willing to take that extra step (pardon the pun).
Learn More with Our Photography Courses
If you are interested in further developing your skills, we offer self-paced, video-based digital photography courses.

